Seasonal
A measure-first plan for handing out Halloween treats without blocking the door, cluttering a narrow porch, or creating a difficult pack-down.
Jump to
Quick plan · Measure first · Recommendations · Setup ideas · FAQ
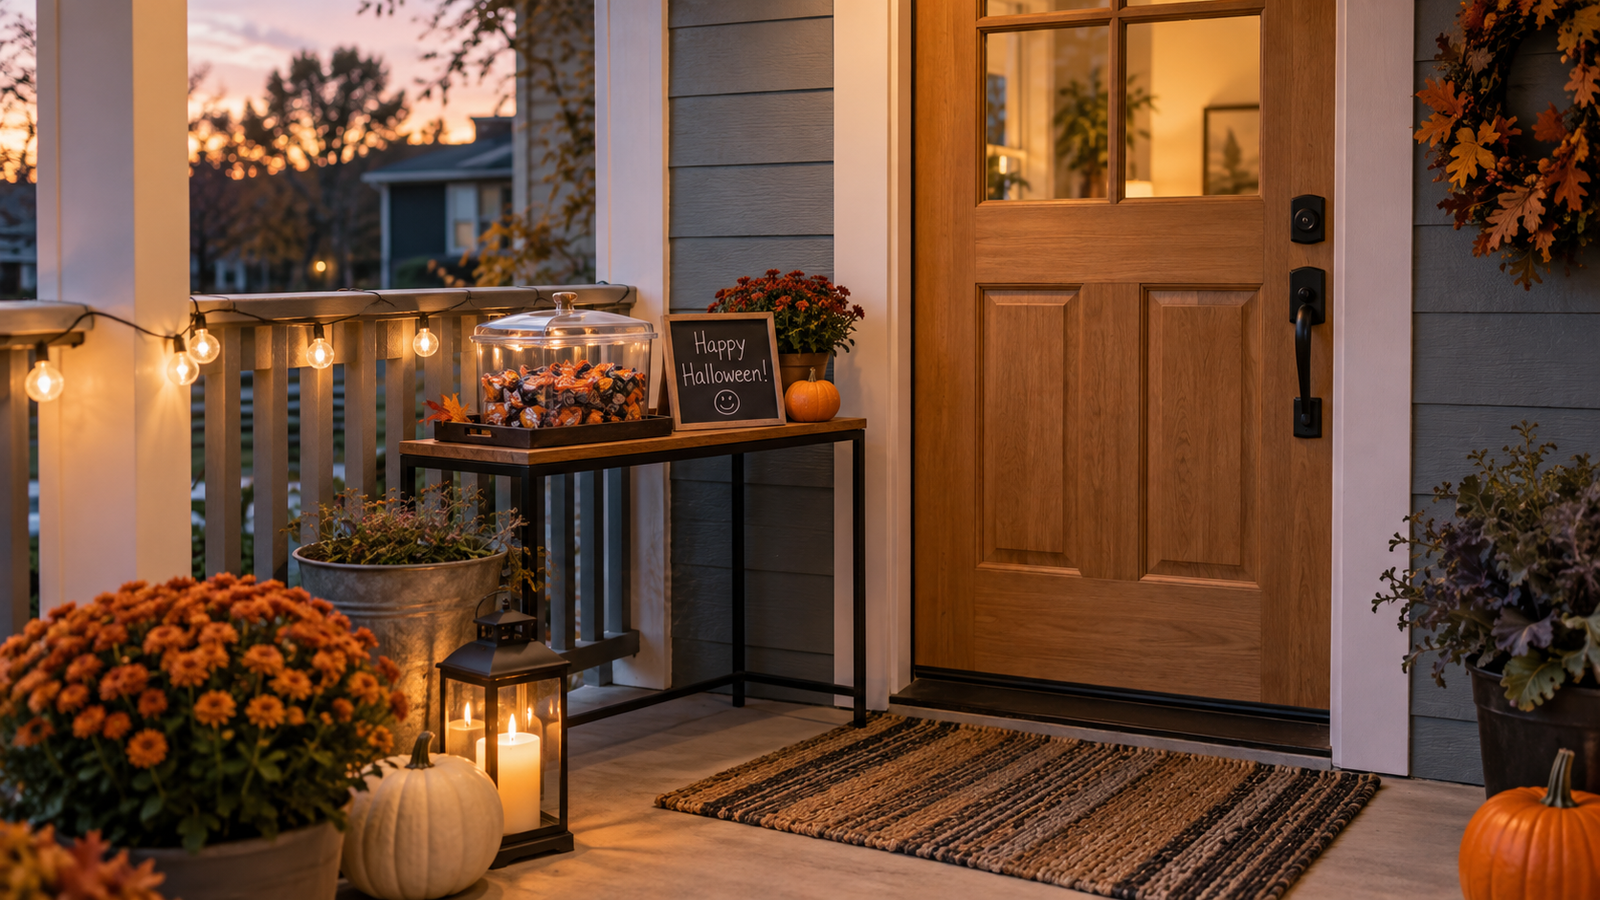
Small porches do not leave much room for a Halloween treat station. A table that looks compact in a product photo can block the front door, narrow the visitor route, or leave candy exposed at the edge of the landing. Add cords, decorations, and a crowd of children, and a simple setup can become awkward quickly.
The better approach is to plan the movement first. Mark the door swing, protect the walking path, choose one handoff point, and use the smallest surface that can hold the treats you actually expect to offer. In many homes, that means a tray on an existing bench rather than a new table.
This guide explains three porch layouts and three product options for distinct needs. None is required. Existing furniture, installed lighting, and containers you already own should be the first things you test. For an indoor complement, see Small-Space Indoor Halloween Decor: A Measure-First Buying Guide.
Quick planning guide
| If you need… | Start with… | Consider buying only when… | Check first |
|---|---|---|---|
| A compact handoff point | A tray on an existing chair, bench, or console | You have no stable surface that fits | Door swing, walking route, reach, and stability |
| Covered treat separation | Lidded containers you already own | Your current containers are too small or hard to carry | Exact dimensions, lid fit, cleanup, and weather exposure |
| A route for a lightweight light strand | Existing porch lighting | The installed light does not make the station visible | Surface compatibility, outlet, cord path, and package directions |
| A full serving table | A taped floor outline | The complete 48-by-24-inch area leaves the porch functional | Legs, door arc, path width, folded storage, and carry weight |
Map the porch before choosing furniture
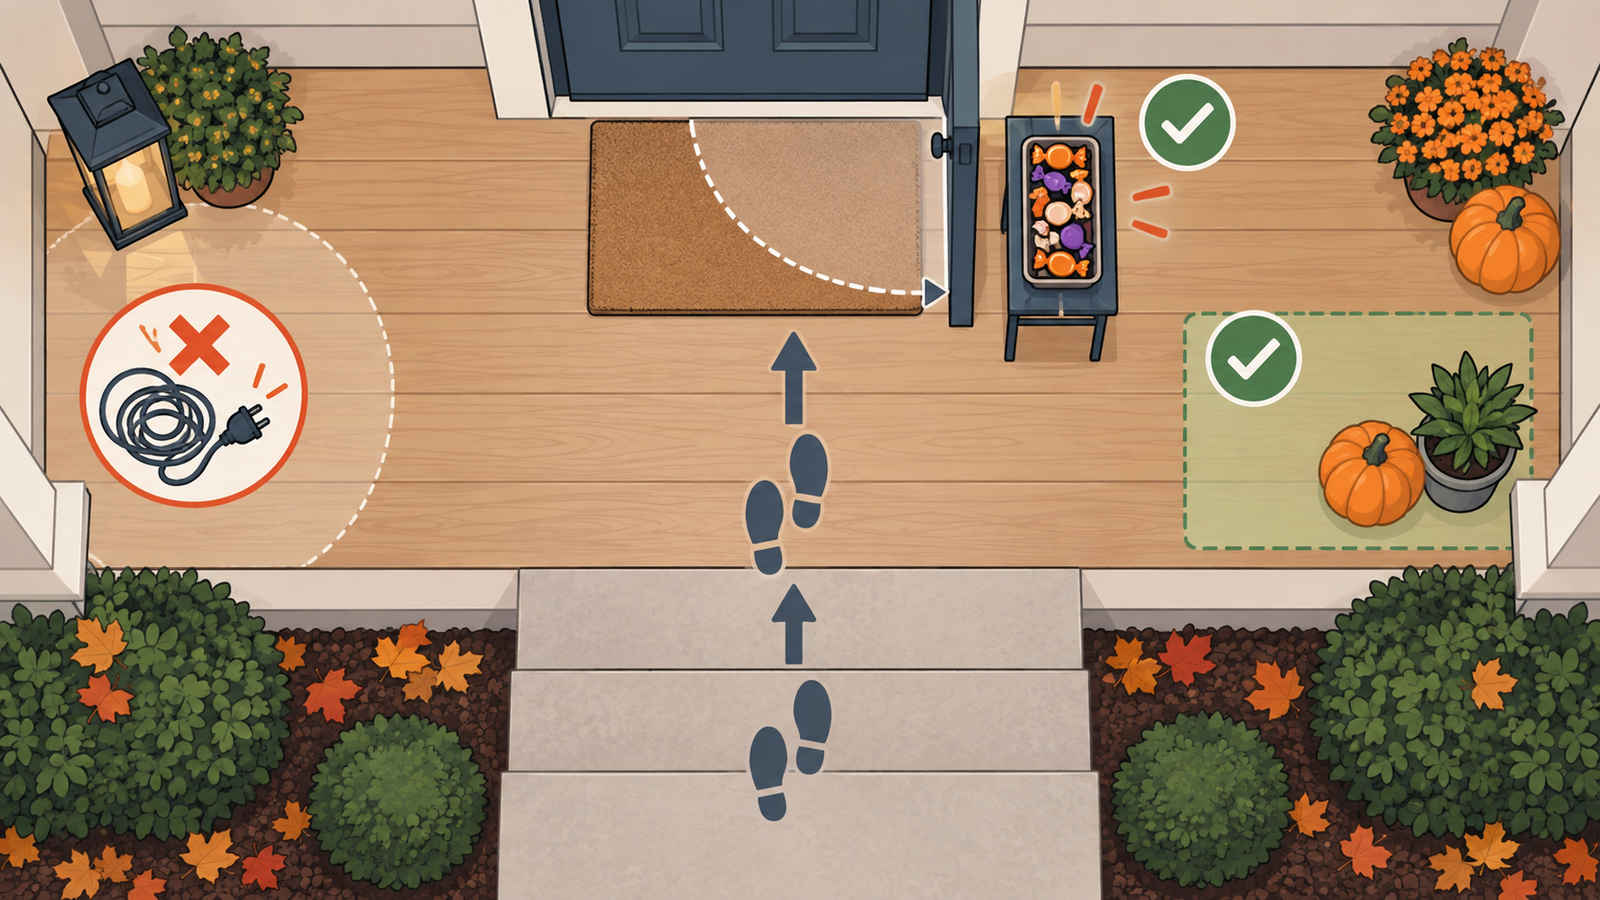
Begin with the porch empty enough to see how people already move through it. Open the front door through its full arc. Walk from the steps or path to the door while carrying a bag. If there is a storm door, test that separately. Note railings, planters, doorbells, locks, handles, steps, and uneven boards or paving.
Record five measurements:
- The usable width and depth outside the door arc
- The route visitors need from the approach to the handoff point
- The height and depth of any existing bench, chair, or console
- The distance from the station to a suitable outlet or installed light
- The storage space available after Halloween
Do not borrow a universal walkway number from a product guide. Porches, doors, steps, and household access needs differ. The practical test is whether the door opens normally and people can approach, receive a treat, turn, and leave without stepping around furniture or cords.
Use painter’s tape or flattened cardboard to mark a proposed surface on the porch. Then repeat the full route. A 24-inch-deep rectangle can feel small in a catalog and surprisingly large on a narrow landing.
Decide how the station will operate
Staffed handoff
A staffed station can be smaller because one person controls the refill container and hands out treats. Keep the main supply behind the handoff point or just inside the door, with only a modest amount on the porch. This reduces clutter and makes it easier to bring everything in if the weather changes.
Position yourself beside the door path, not in it. If the porch cannot hold both a seated person and a serving surface while preserving movement, use a tray held at the doorway or stand just inside the open door.
Supervised self-serve
A self-serve station needs a clear approach, an obvious pickup point, and a plan for monitoring and refilling. Use individually wrapped treats in a covered container and keep the lid easy to lift without requiring visitors to reach across lights or decorations.
Do not assume a lid makes a container weatherproof or suitable for indefinite unattended use. Wind, rain, pests, temperature, and local conditions still matter. If the station cannot be supervised or brought inside promptly, reconsider the setup rather than adding more equipment.
Choose the smallest workable surface
Work through these options from smallest to largest.
1. Tray on an existing surface
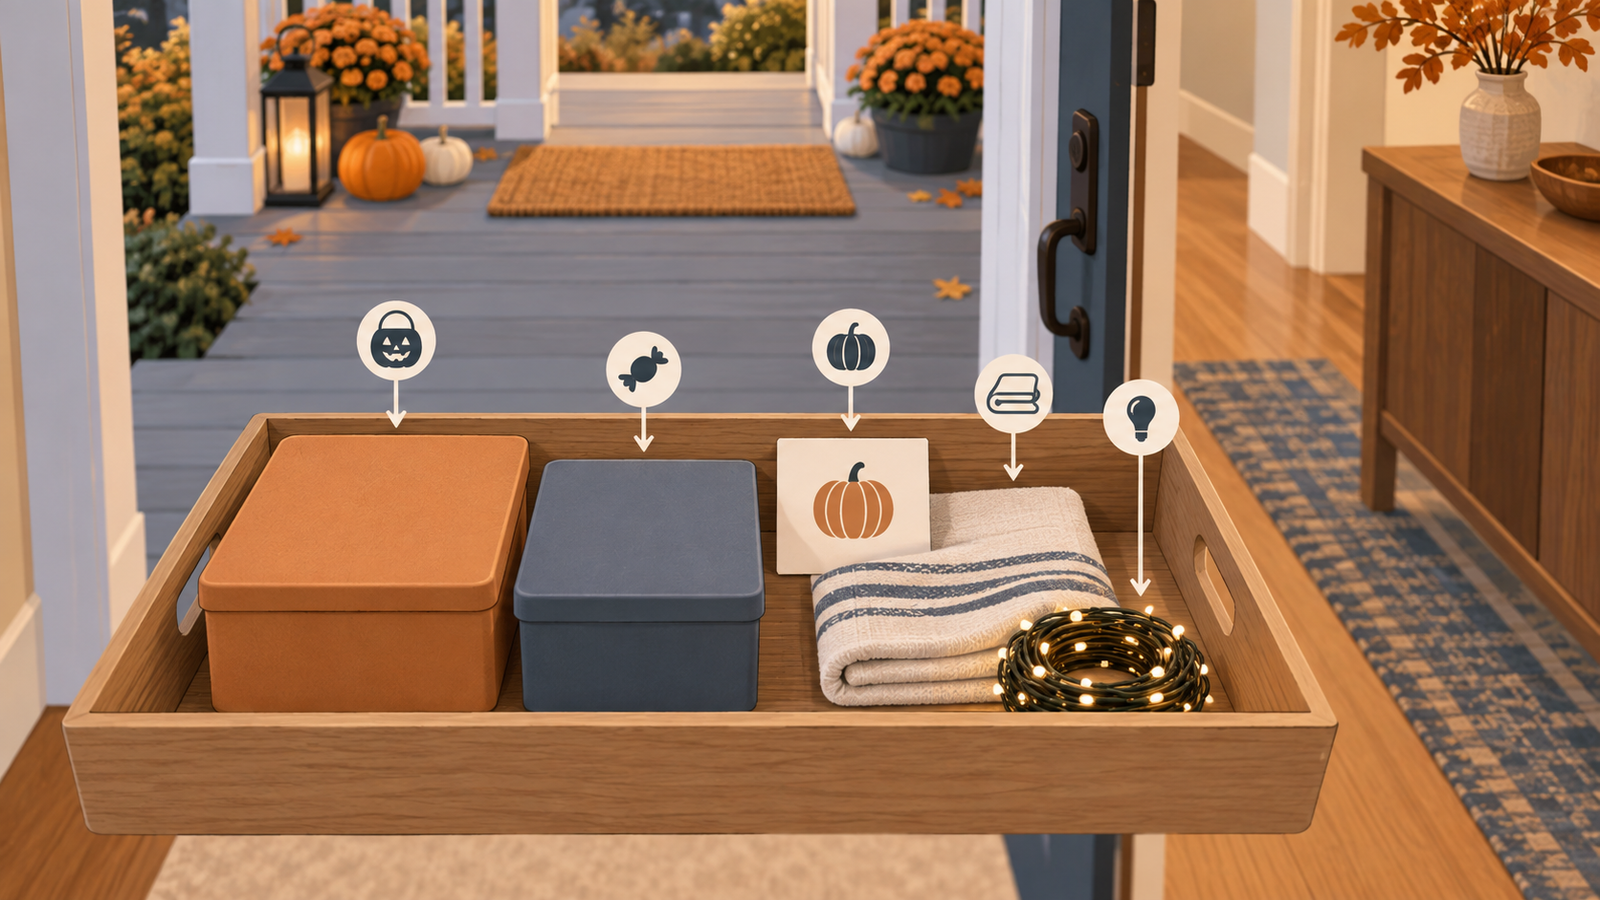
A rimmed tray on a stable bench, chair, or console often creates enough visual definition for a treat station. The tray contains the containers and makes the whole setup easy to carry indoors. Add a paper sign behind it if the purpose is not obvious from the approach.
Check that the furniture is meant for the conditions, sits level, and cannot tip when a visitor lifts a lid. Keep fragile decor and loose fabric away from the handoff area.
2. Narrow existing console or bench
An existing outdoor bench or narrow console can support two smaller containers without adding another object to storage. Put the treats at the end nearest the visitor route and leave the rest of the surface clear. A narrow surface becomes less useful when it is covered with decorative objects that visitors must reach around.
3. Folding table
A folding table is justified only when the porch has the full footprint and the table will serve other purposes during the year. Mark the tabletop and every leg position before buying. A tabletop that clears the door can still fail when a leg lands in the walkway or on an uneven edge.
Three product options for specific porch problems
Rubbermaid TakeAlongs Serving Bowl containers — best for covered treat separation
Why it works: Rubbermaid identifies model 2086745 as a two-count serving-bowl set. Each bowl is listed at 15.7 cups and the set measures 10.312 by 10 by 5.5 inches. The QuikClik lids make the bowls easier to carry as a pair than open candy dishes, while the top-rack dishwasher-safe construction supports straightforward cleanup. Two containers also let you separate treat types without filling the porch with several small bowls.
Use them for individually wrapped treats, not loose food. Place the pair on a tray so the full station can move indoors in one trip.
What to check: Match model 2086745 and the listed dimensions. Some retailer titles describe a different capacity for the same model, so measure the intended surface rather than relying on a shortened listing name. Confirm that the closed bowls fit side by side with room for a hand to lift each lid.
The manufacturer does not describe them as weatherproof. A fitted lid does not make an outdoor candy station suitable for prolonged rain, wind, pests, or unattended exposure.
Skip if: You already own washable lidded containers that fit the tray, or the ten-inch footprint of each bowl consumes too much of the available surface.
Command Outdoor Clear Light Clips — best for a compatible lightweight light route
Why it works: The current Command Outdoor Clear Light Clips pack contains 16 clips and 20 strips. 3M describes the product for holiday, LED, rope, and string lights on compatible sealed, smooth outdoor surfaces. The strips are water- and UV-resistant, so the product is designed for outdoor decorating rather than adapted from an indoor clip.
Use the clips only to clarify the station’s location with a suitable lightweight strand. One short line along a railing face, soffit, finished fence, window, or another approved surface is usually clearer than wrapping lights around every object.
What to check: Read the directions supplied with the exact pack. Confirm the surface, preparation, outdoor temperature range, wait time, spacing, load, removal method, strand condition, outlet location, and cord route. 3M’s surface examples include doors, flat vinyl siding, soffits, finished fences, tile, painted cinder block, and windows.
Those examples do not support a blanket claim for rough brick, unsealed masonry, or textured siding. Keep the cord and any extension connection away from the walking route and follow the light manufacturer’s outdoor-use directions.
Skip if: The surface is not explicitly compatible, the light strand is unsuitable for the location, the cord would cross a path, or the installed porch light already makes the station easy to see.
Lifetime 80869 folding table — only for a porch that passes the full-footprint test
Why it works: Lifetime model 80869 provides a 47.9-by-24-inch surface and adjusts to 22, 24, 29, or 34 inches high. The HDPE top and powder-coated steel frame are specified for indoor and outdoor use. It folds to 24.3 by 24 by 3 inches, which is easier to store than a fixed four-foot table and may make sense for a household that needs a reusable event or project surface.
This is the largest option in the guide and should be treated as a fit test, not a default recommendation. A porch needs room for the entire tabletop, the leg stance, the door arc, and the visitor route.
What to check: Tape a 47.9-by-24-inch rectangle on the porch and identify where every leg will stand. Open both doors, walk the route, and test access to the lock, bell, rail, and steps. The table weighs 20.9 pounds, so include carrying and pack-down in the decision. Confirm that the 24.3-by-24-inch folded panel fits the intended storage location.
Skip if: The 24-inch depth narrows the path, a leg would sit near a step or uneven edge, the table is more surface than the treat plan needs, or you would not use it beyond Halloween.
Plan visibility without creating a trip hazard
Start with the installed porch light. Stand at the visitor approach after dark and check whether the station, step edges, door hardware, and treats are visible without glare. If the existing light works, stop there.
If you use a light strand, keep it off the floor and out of the door gap. Do not place extension-cord connections where people walk or where they can sit in water. Follow the light, cord, outlet, and mounting-product instructions for outdoor use.
A portable light you already own can be useful when placed on a stable surface and used within its documented weather limits. This guide does not recommend a specific lantern because the previously researched model now has unstable availability and conflicting retail specifications. Do not buy an unverified light simply to complete the look.
Avoid aiming a bright source directly at arriving visitors. The goal is to show the handoff point and the route, not to turn the porch into a display stage.
Three layouts for a small porch
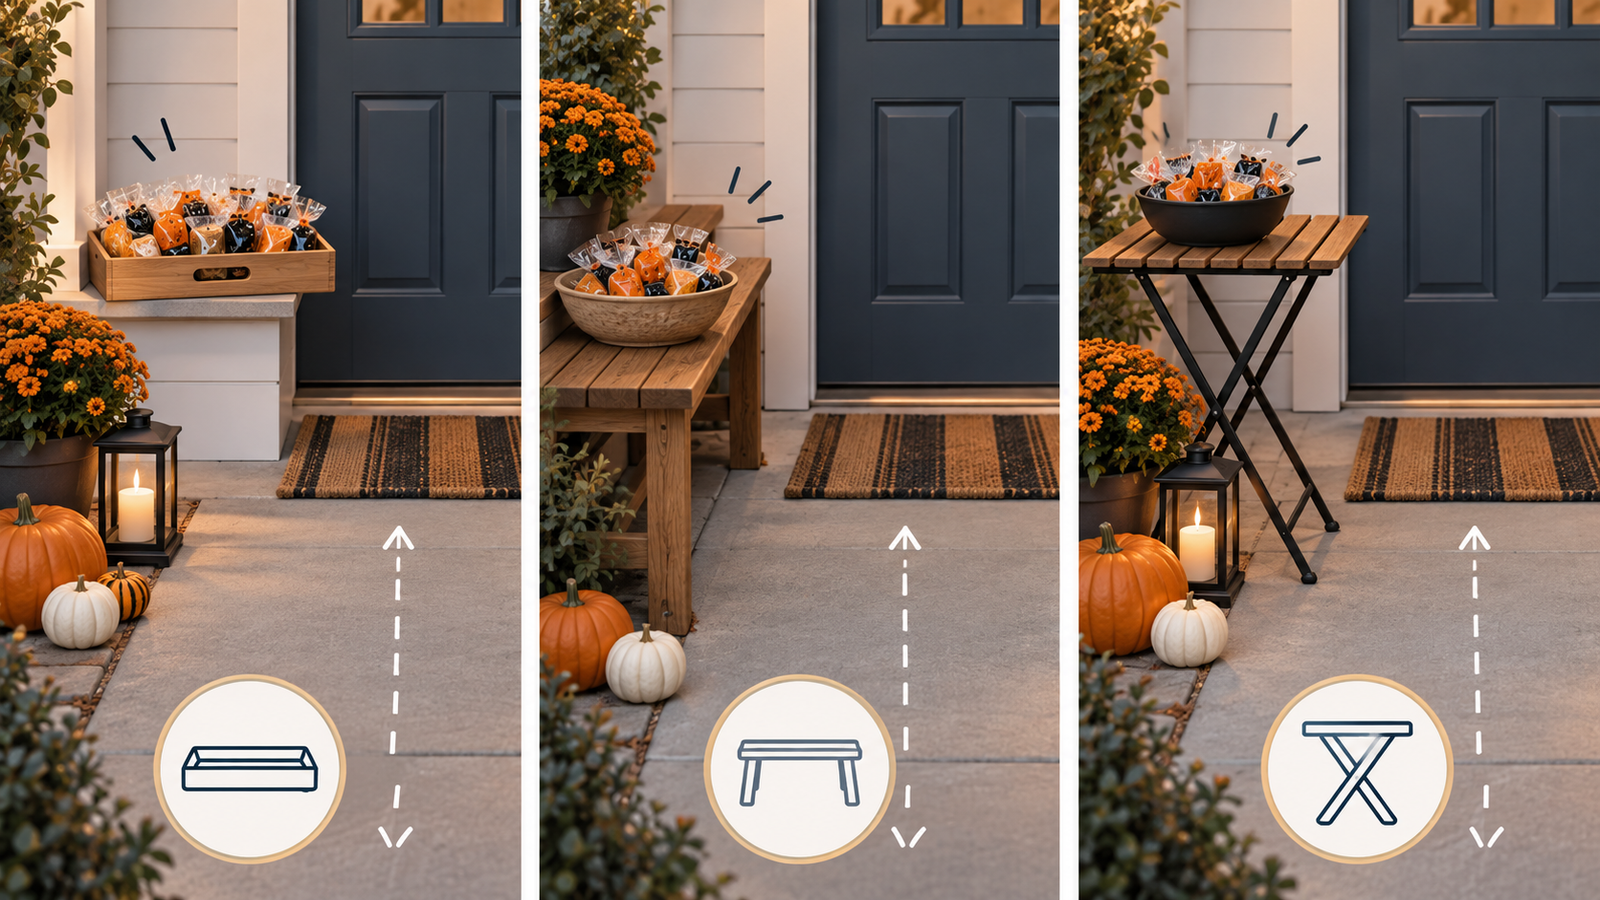
Layout 1: Carry-out tray
Use a rimmed tray with one or two lidded containers on an existing chair or bench. Keep the refill supply indoors. Use the installed porch light and a simple paper sign if needed.
Best for: A very shallow landing or a staffed handoff where everything must come inside quickly.
Why it stays compact: The tray defines the station and becomes the pack-down system. Nothing remains on the porch after the tray is carried in.
Layout 2: Narrow bench station
Place the covered containers at one end of an existing outdoor bench or console. Keep the other end open so visitors do not reach through decorations. If a compatible wall or soffit needs more definition, use one short, safely routed light line.
Best for: A side-entry porch or landing with a stable narrow surface already outside.
Why it stays compact: The setup adds containers and possibly clips, rather than adding furniture.
Layout 3: Full table station
Use the folding table only after the taped footprint and leg positions pass the door-and-route test. Place the containers toward the approach side and keep most of the tabletop empty. Store extra treats and decorations inside rather than filling the back half.
Best for: A wider porch, a supervised high-volume handoff, and a household that will reuse the table.
Why it can fail: The tabletop may fit visually while the legs, door arc, or visitors occupy the same space. If that happens during the tape test, return to the tray layout.
Common treat-station mistakes
Buying the table before testing the door
Measure the operating porch, not just an empty rectangle. Door movement and visitor movement need to work at the same time.
Treating the surface as decoration space
Every pumpkin, sign, lantern, and fabric runner competes with the handoff area. Keep decor behind or above the treats and leave the reach path clear.
Leaving open candy outside
Use individually wrapped treats and a covered container. Bring the station in when weather, pests, temperature, or supervision makes the outdoor setup unsuitable.
Assuming outdoor adhesive works on every exterior
Outdoor rating does not erase surface restrictions. Rough brick, unsealed masonry, and textured siding need a different plan unless the exact product instructions approve them.
Lighting the bowl but missing the step
Check the full approach after dark. A visible container does not make an uneven step, loose cord, or open door easier to navigate.
Creating a refill pile
Keep reserve treats indoors or in one closed container behind the staffed position. Extra bags on the porch create clutter and make cleanup slower.
Pack down in one trip
Design the station around the trip back inside. A tray should hold the closed treat containers, sign, and small mounting supplies. Keep clip directions and unused strips in a labeled bag. Coil any light strand according to its instructions and store it separately from food containers.
Wipe and wash the serving pieces according to their care directions. Dry every outdoor item before it enters storage. Record what did not work: a blocked door angle, a surface that rejected the clip plan, or a table that felt too deep. That note will improve next year’s setup more than another decoration.
If the folding table is part of the plan, decide where its 24.3-by-24-inch folded panel will go before Halloween. Storage is part of the purchase decision, not a problem for November.
Frequently asked questions
What size table works for a small Halloween porch?
There is no universal size. Test the full tabletop and leg footprint while opening the door and walking the visitor route. Start with a tray or existing narrow surface. A 47.9-by-24-inch table is a conditional full-size option, not a small-porch default.
How do I keep a candy station visible at night?
Check the installed porch light from the visitor approach first. If it is insufficient, add only a documented outdoor lighting solution whose cord, placement, and weather limits fit the porch. Keep cords and connections out of the walking route.
Can Command Outdoor Light Clips be used on brick?
Do not assume so. 3M lists painted cinder block among the compatible examples for this product, but that does not establish compatibility with rough brick or unsealed masonry. Follow the surface list and directions supplied with the exact pack.
Should Halloween candy be left in an open bowl?
Covered containers with individually wrapped treats are the more practical option outdoors. A lid does not make the setup weatherproof, so bring the station inside when conditions or supervision make it unsuitable.
How do I set up a treat station without blocking the front door?
Mark the full door arc, choose a handoff point outside that arc, and walk the route before adding furniture. Use a carry-out tray if a table and open door cannot coexist safely.
Do I need to buy a table for a Halloween treat station?
Usually not. An existing bench, chair, console, or tray may provide enough stable surface. Buy a table only when its complete footprint fits and it has a useful role after Halloween.
How we researched this guide
Good Things Atlas built this guide from current official specifications and instructions from Rubbermaid, 3M Command, and Lifetime, then checked current U.S. retail records on September 12, 2026. We have not personally tested these products. Dimensions, materials, pack contents, and compatibility examples are verified facts; the porch layouts and use-case recommendations are editorial judgments based on those facts. We removed a previously researched Energizer lantern after current evidence showed an obsolete/discontinued signal and conflicting retail specifications. This draft includes no prices, ratings, customer-review claims, stock promises, Amazon links, or affiliate links. Check the current listing and the directions supplied with the exact product before buying.